
I’m not sure if anyone noticed but it was Easter last Sunday. If like me you are getting the chocolate withdrawals it might be a good idea to rustle up this tart for the weekend. It does involve a bit of pastry making but once that’s done you’ll be cooking on gas. The filling is made in one pot on the hob and then chilled. Couldn’t be easier. This particular tart is impressively rich and is perfect with a cup of tea or coffee.
Pastry isn’t too tricky by the way. It just involves patience and crossed fingers.
An aside: I went for a wander in town on Easter Saturday. I have to say it was remarkable how many charming people were about. People holding doors open, a sweet couple let me go ahead of them in the queue and a healthy smattering of smiling faces. Nice.
Back to chocolate. I decided to go nuts and buy fancy chocolate in one of the most perfect shops in Dublin: Cocoa Atelier. Having made the tart (and a rustic looking Easter egg for the folks – brownie points me) I think the fancy milk chocolate I bought made all the difference. But if you aren’t arsed buying fancy chocolate the carcasses of left over Easter eggs will work just fine.
The pastry recipe is my own but the filling is from one of the most delicious cookbooks in the world ever. Ever. My attentive husband got it for me a few Christmases ago and it goes by the name of “Adventures with chocolate“, written by Paul A. Young. Good name.
Oven temperature 180 Celsius
Pastry:
Plain Flour 220g
Butter 140g
Sugar 25g
Salt a healthy pinch
Egg yolk 1
Water 2 tablespoons
Filling:
Butter 200g
Light Muscavado sugar 200g
Cream 200ml
Salt 1/2 teaspoon (use fancy salt rather than table salt)
Milk chocolate 200g
Starting with the pastry. Preheat the oven.
If using your hands, which I usually do but this time felt a little lazy, put the flour, butter, sugar and salt into a bowl and rub to form ‘breadcrumbs’ – see below.

Now, add in the egg yolk and the water. Make a claw with one hand and begin to cover the liquids with the floury stuff. This is in an effort to bring the dough together without it all sticking to your hand. Work it lightly until you get a smooth mix. Roll it into a ball and then flatten. Wrap it in clingfilm or greaseproof paper and pop it in the fridge.

If, like me, you are too tired to use your hands put the flour, butter, sugar and salt into the food processor or stand mixer bowl. Use the odd looking ‘flat beater’ (?) attachment if using a stand mixer or just the regular blade in a food processor. Mix until the same breadcrumby stage. Add the egg yolk and water and turn back on till just combined, turn the crumbly dough out onto the clingfilm or parchment and using your hands work the dough till smooth. It’s best to finish the pastry this way as it’s easy to overwork it if you just use an appliance. Wrap it as above and put it in the fridge.

Now most every recipe will tell you to wait for at least half an hour but I’m never sufficiently organised to have that much time so I tend to use it after about 10mins.
As your pastry chills pick a 23cm round tart tin with a loose bottom preferably, I went with straight edges but fluted would look lovely too. Don’t use anything that is over 5cm tall or your pastry may melt down and make a very frustrating mess.

With pastry you have to grease the tin differently to your standard cake. First rub all the interior surfaces with soft butter, if you have the non-stick spray use that. Then put a handful of plain flour into the centre and begin to rotate the tin so the flour falls, and coats, all of the inside (the pictures below might make it a bit clearer). Pop the tin out of the way.
Now to roll the pastry. Remove it from the fridge and squish it with your hands for a few seconds to take the chill off it. Dust the work surface with flour and place the pastry lump on top. Flour your rolling pin lightly. Roll the pastry in one direction for a few seconds then lift up the pastry, flour the surface a little more and put the pastry back down 90degrees to how it was. Roll a little more, rotate another 90degrees but only flour if it’s starting to stick. You may need to flour the rolling pin again.
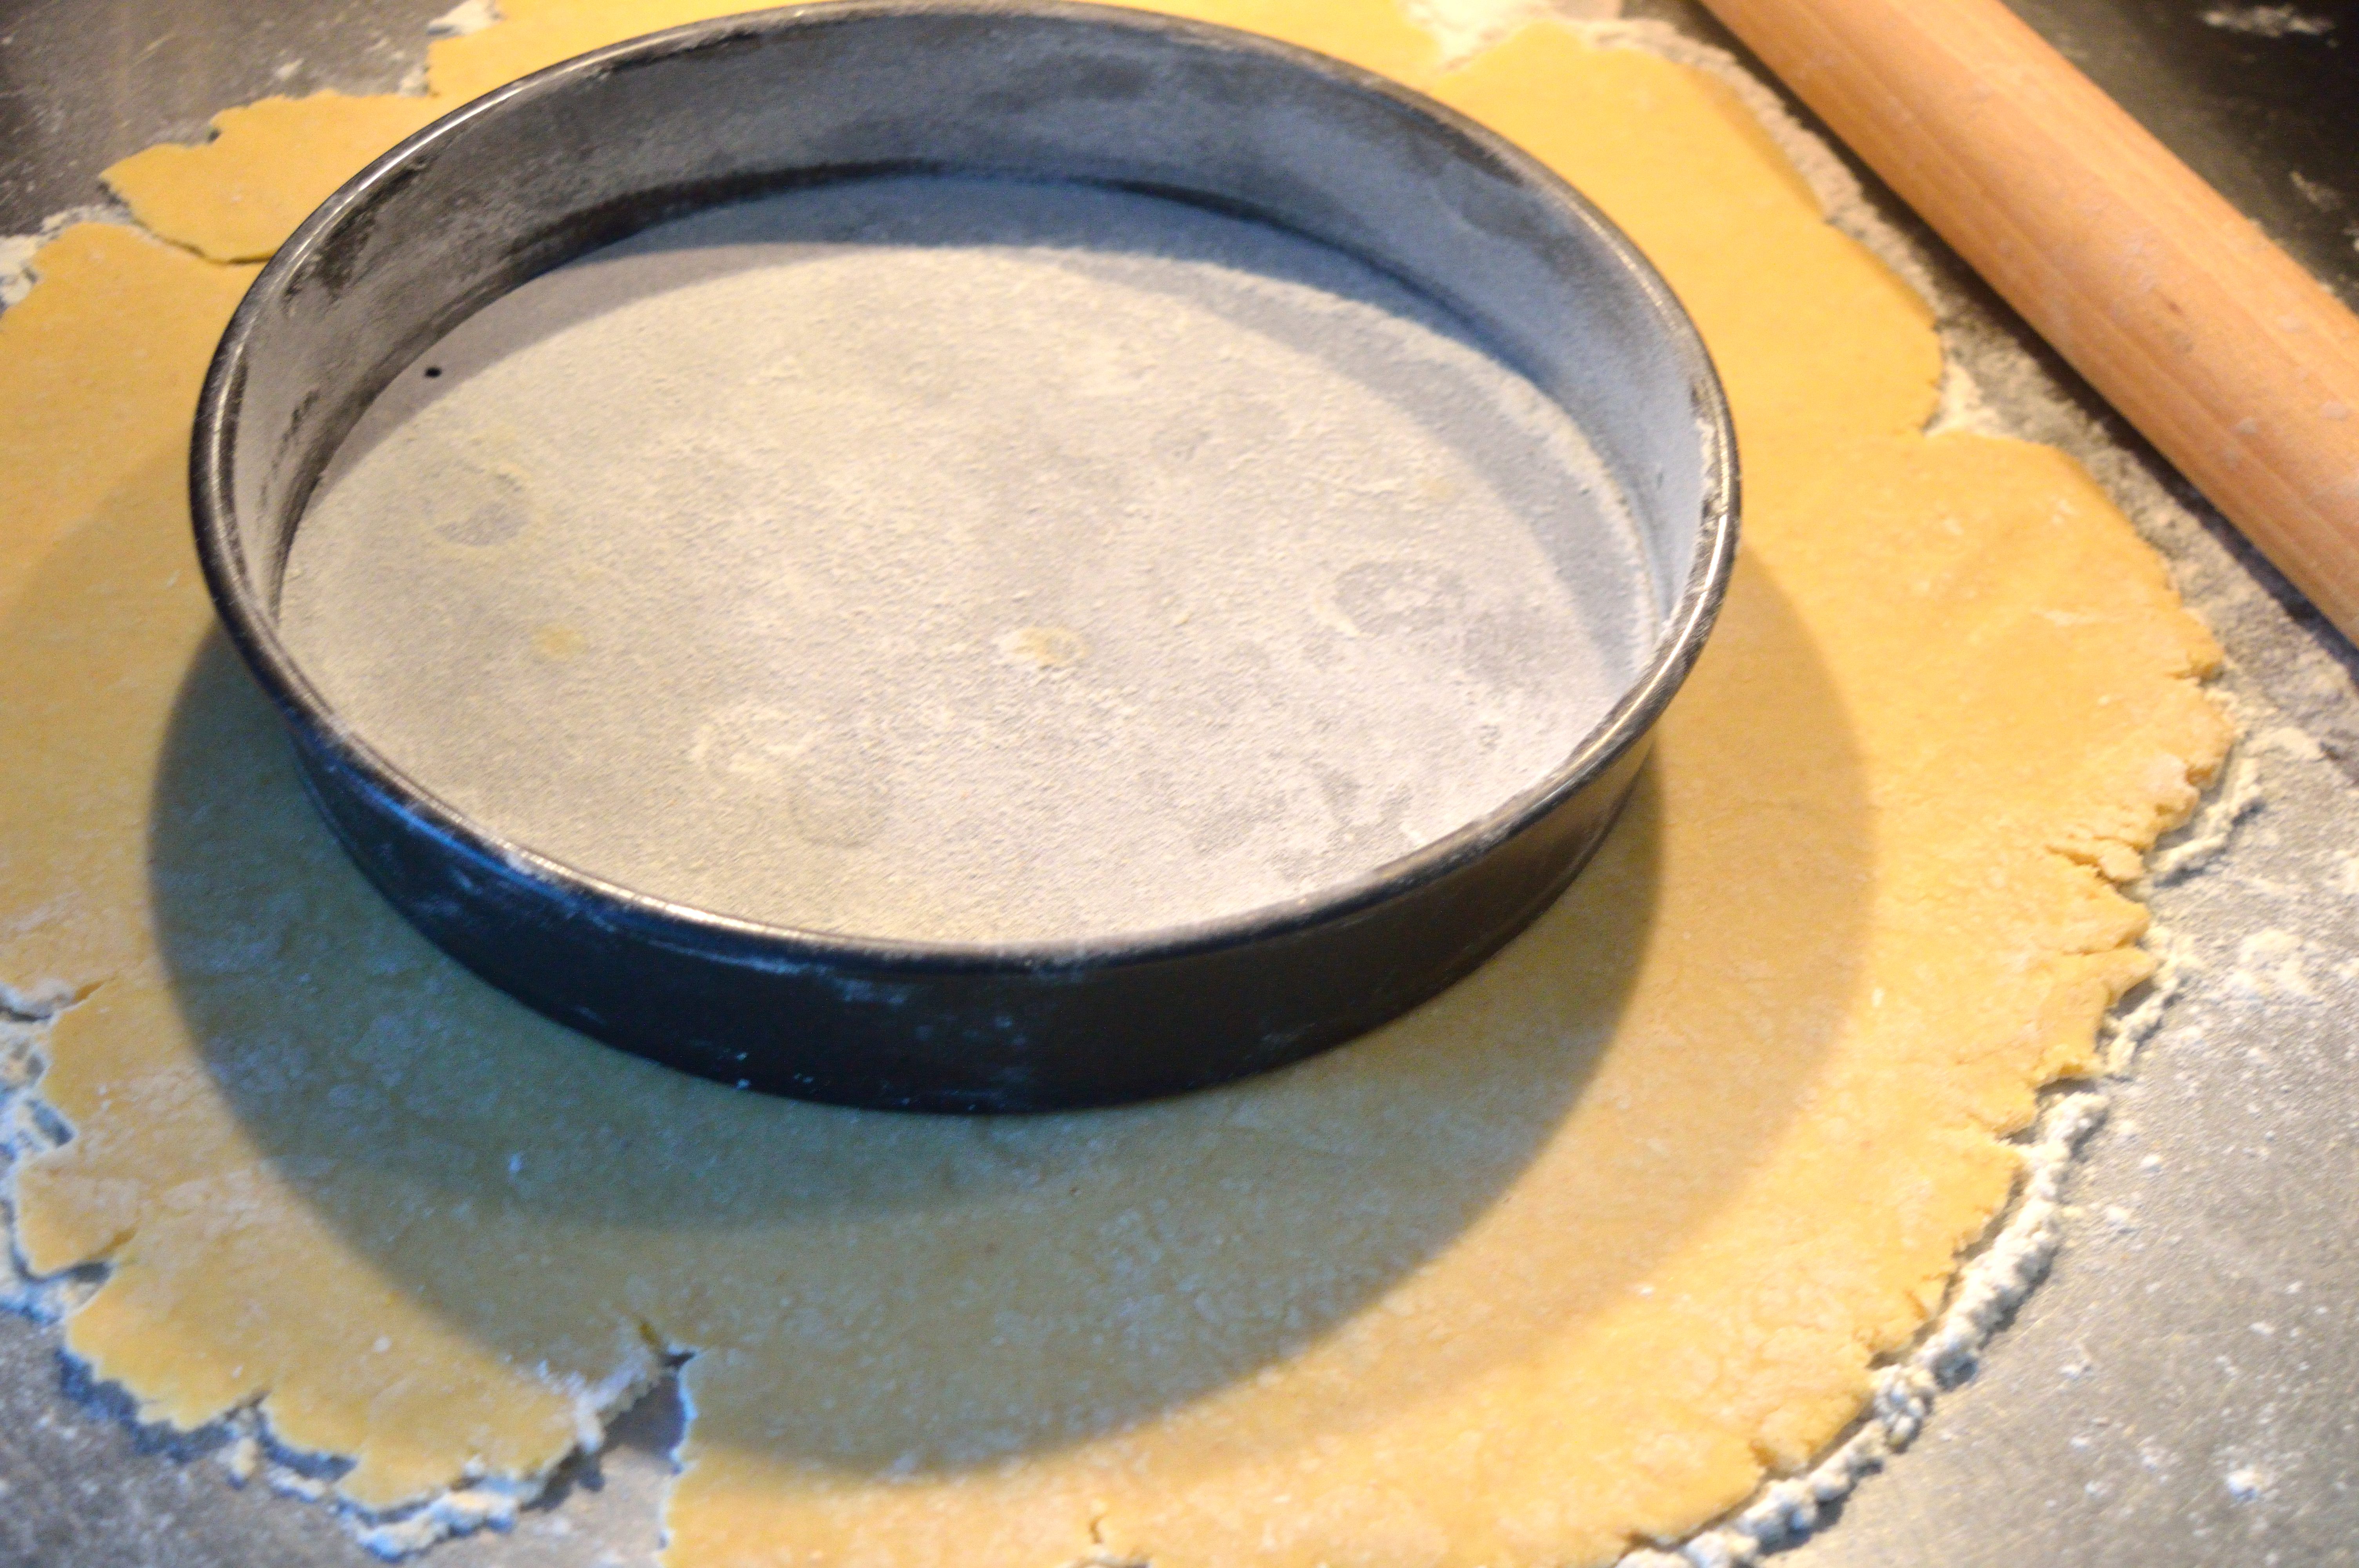
You’ll be wanting the pastry to be about a euro coin thick. Run your hand across the top of the pastry to make sure it’s all about the same thickness. Another important consideration is how big your pastry needs to be. Roll it out to about the size you think you’ll need then put the greased tin on top of it in the centre. If there is enough pastry to cover the bottom and come up all of the sides then good work otherwise take the tin off and roll a bit more.

Once you’ve got it rolled, place the rolling pin at one edge and begin to roll the pastry around it. Look at the picture.

Now put the tin behind the pastried rolling pin. Pick up the rolling pin and, leaving enough pastry to cover the edge nearest to you, start to unroll the pastry across the tin. When you’ve unrolled it all put the rolling pin out of the way.

Begin to pick up the outside edge of the pastry and gently press the pastry into the corners of the tin. Do this the whole way around. You’ll have a little skirt of pastry but leave it be.

Place the pastried tin on a baking sheet. Using a fork pierce the base of the pastry about ten times. Tear off a piece of baking parchment big enough to cover the whole tin and scrunch it into a ball (this allows it to lie more neatly in the case), then unfurl and place on the pastry. If you have baking beans use them otherwise use rice to weigh down the parchment. This should stop the pastry from rising and going peculiar on you.

Pop it into the oven for 12mins. Remove from the oven and carefully take off the parchment and whatever weight you used. Use a sharp knife to cut off the excess pastry and neaten up the top edge of the pastry case.

Return to the oven for another 12-16mins or until the pastry is pale brown and looks dry.

Done. Are we all okay?
To the filling. This is much simpler.
Put the butter and sugar into a pan and melt on a high heat until all the sugar has dissolved. About 2mins from when it starts properly bubbling.

As that’s working away measure out the cream and stir in the salt.
Take the pan off the heat and stir in the salted cream. Put the pan back on the heat and let it bubble for 5mins.
Take off the heat for the final time and whisk in the milk chocolate, which should be broken into little pieces if you’re not using chocolate drops. That’s it. Pour into the cooled pastry case and put the whole lot into the fridge to set (at least two hours). I sieved a mix of drinking chocolate powder and cocoa powder over the top just to look a bit fancy but this isn’t essential.
Un-tin the tart, using an upturned glass or the like, and place on a showy plate.


Wow! Simply flawless!
LikeLike
Thank you so much, you shall be my new favourite person.
LikeLiked by 1 person
Yeey! Blogger friends! And by the way, since Im new here I dont know much, but my cousin is a beauty blogger and she has a group with some other b bloggers. Do you know of any for food bloggers? Or shall we start one?
LikeLike
Sorry it won’t let me reply to your latest comment. I’ve only been doing this for a month or two so I have no idea. If you know how to start a group, let me know how I can help!
LikeLiked by 1 person
I think I’ll start a mastermind group! If anything I will surely contact you!
LikeLiked by 1 person
I can verify that this was indeed delicious
LikeLiked by 2 people